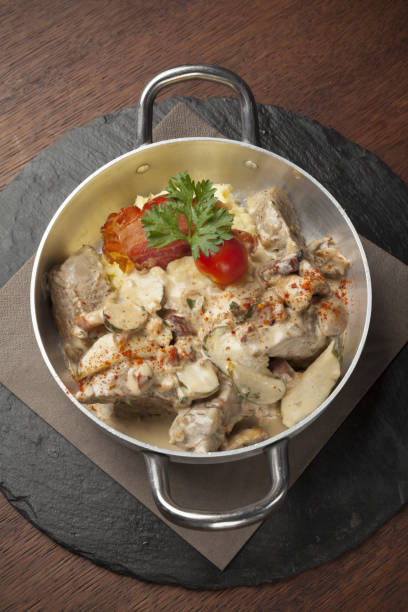
Fried chicken is a timeless classic, loved by people worldwide for its crispy exterior and juicy, flavorful meat. While buttermilk is a common ingredient in many fried chicken recipes, it’s not always readily available or suitable for everyone’s dietary preferences. Fear not, for here, we present a delicious fried chicken recipe that skips the buttermilk without sacrificing any of the flavor or texture you crave. Get ready to embark on a culinary journey to crispy perfection!
Ingredients:
- One whole chicken cut into pieces (or your preferred chicken parts)
- 2 cups all-purpose flour
- Two teaspoons salt
- One teaspoon of black pepper
- One teaspoon paprika
- One teaspoon garlic powder
- One teaspoon onion powder
- 1/2 teaspoon cayenne pepper (adjust according to spice preference)
- Two eggs
- 1/4 cup milk
- Vegetable oil for frying
Instructions:
- Prep the Chicken:
- Rinse the chicken pieces under cold water and pat them dry with paper towels. This step helps remove any excess moisture from the chicken, ensuring a crispier coating later.
- Create the Dredge Mixture:
- In a shallow dish or bowl, combine the flour, salt, black pepper, paprika, garlic powder, onion powder, and cayenne pepper. Mix well to ensure all the spices are evenly distributed throughout the flour mixture.
- Beat the Eggs:
- In another bowl, beat the eggs together with the milk until well combined. This egg wash will help the flour mixture adhere to the chicken pieces, creating a crispy coating when fried.
- Coat the Chicken:
- Dip each piece of chicken into the egg wash, making sure it’s fully coated. Then, dredge the chicken in the seasoned flour mixture, pressing gently to adhere the flour to the chicken. Shake off any excess flour before transferring the coated chicken to a plate or wire rack.
- Let the Coated Chicken Rest:
- Allow the coated chicken pieces to rest for about 10-15 minutes. This resting period helps the flour adhere better to the chicken and creates a crispier crust when fried.
- Heat the Oil:
- In a large skillet or Dutch oven, heat enough vegetable oil to submerge the chicken pieces halfway. Heat the oil to 350°F (175°C) over medium-high heat. It’s essential to maintain the proper oil temperature throughout the frying process for crispy and evenly cooked chicken.
- Fry the Chicken:
- Carefully place the coated chicken pieces into the hot oil, making sure not to overcrowd the pan. Fry the chicken in batches if necessary to maintain the oil temperature and prevent overcrowding, which can result in soggy chicken.
- Fry the chicken for about 15-20 minutes, turning occasionally, until golden brown and cooked through. The internal temperature of the chicken should reach 165°F (75°C) for safe consumption.
- Once cooked, transfer the fried chicken to a wire rack or paper towels to drain any excess oil.
- Serve and Enjoy:
- Serve the crispy fried chicken hot with your favorite sides and dipping sauces. Whether it’s mashed potatoes, coleslaw, or biscuits, this fried chicken is sure to be a hit at any mealtime gathering.
Tips for Success:
- For extra crispy fried chicken, double dredge the chicken pieces by dipping them back into the egg wash and flour mixture before frying.
- Use a thermometer to monitor the oil temperature accurately, adjusting the heat as needed to maintain a consistent frying temperature.
- Allow the fried chicken to rest on a wire rack for a few minutes before serving to help retain its crispiness.
- Experiment with different spice blends and seasonings to customize the flavor of your fried chicken to your liking.
With this recipe, you can achieve crispy, flavorful fried chicken without the need for buttermilk. By following these simple steps and tips, you’ll be able to create a homemade fried chicken that rivals any restaurant version. So, gather your ingredients, heat the oil, and get ready to indulge in the ultimate comfort food experience. Get ready to savor every crunchy bite of this finger-licking goodness!


